How to Crop a PDF Online Free to Remove White Space
Why Trim White Margins?
Extra white space around the edges of a document makes content look smaller than it needs to be. This is especially noticeable when reading on a phone or tablet. Trimming those borders allows the text and images to fill the screen.
This guide covers the quickest way to get rid of those margins using a browser-based utility. No installers, no sign-up walls, and the file you download is clean—we don't slap a watermark on the corner of your document.
Before You Crop: A Few Quick Notes
There are three things worth knowing before you drag a file in—it'll save you a click or two later.
First, the tool doesn't care if you're trimming a single invoice or a 200-page manual. The only hard cap is 50MB per file. Page count isn't part of the equation.
Second, the connection's locked down with the usual bank-level encryption. Files sit on the server just long enough to trim the edges, then they're cleared out automatically (usually within a day).
And third—and this is the one people ask about most—the sharpness doesn't degrade. The tool only redraws the page boundary. Whatever's inside the crop box stays exactly as it was.
Steps to Remove White Space
Step 1: Open the Cropper
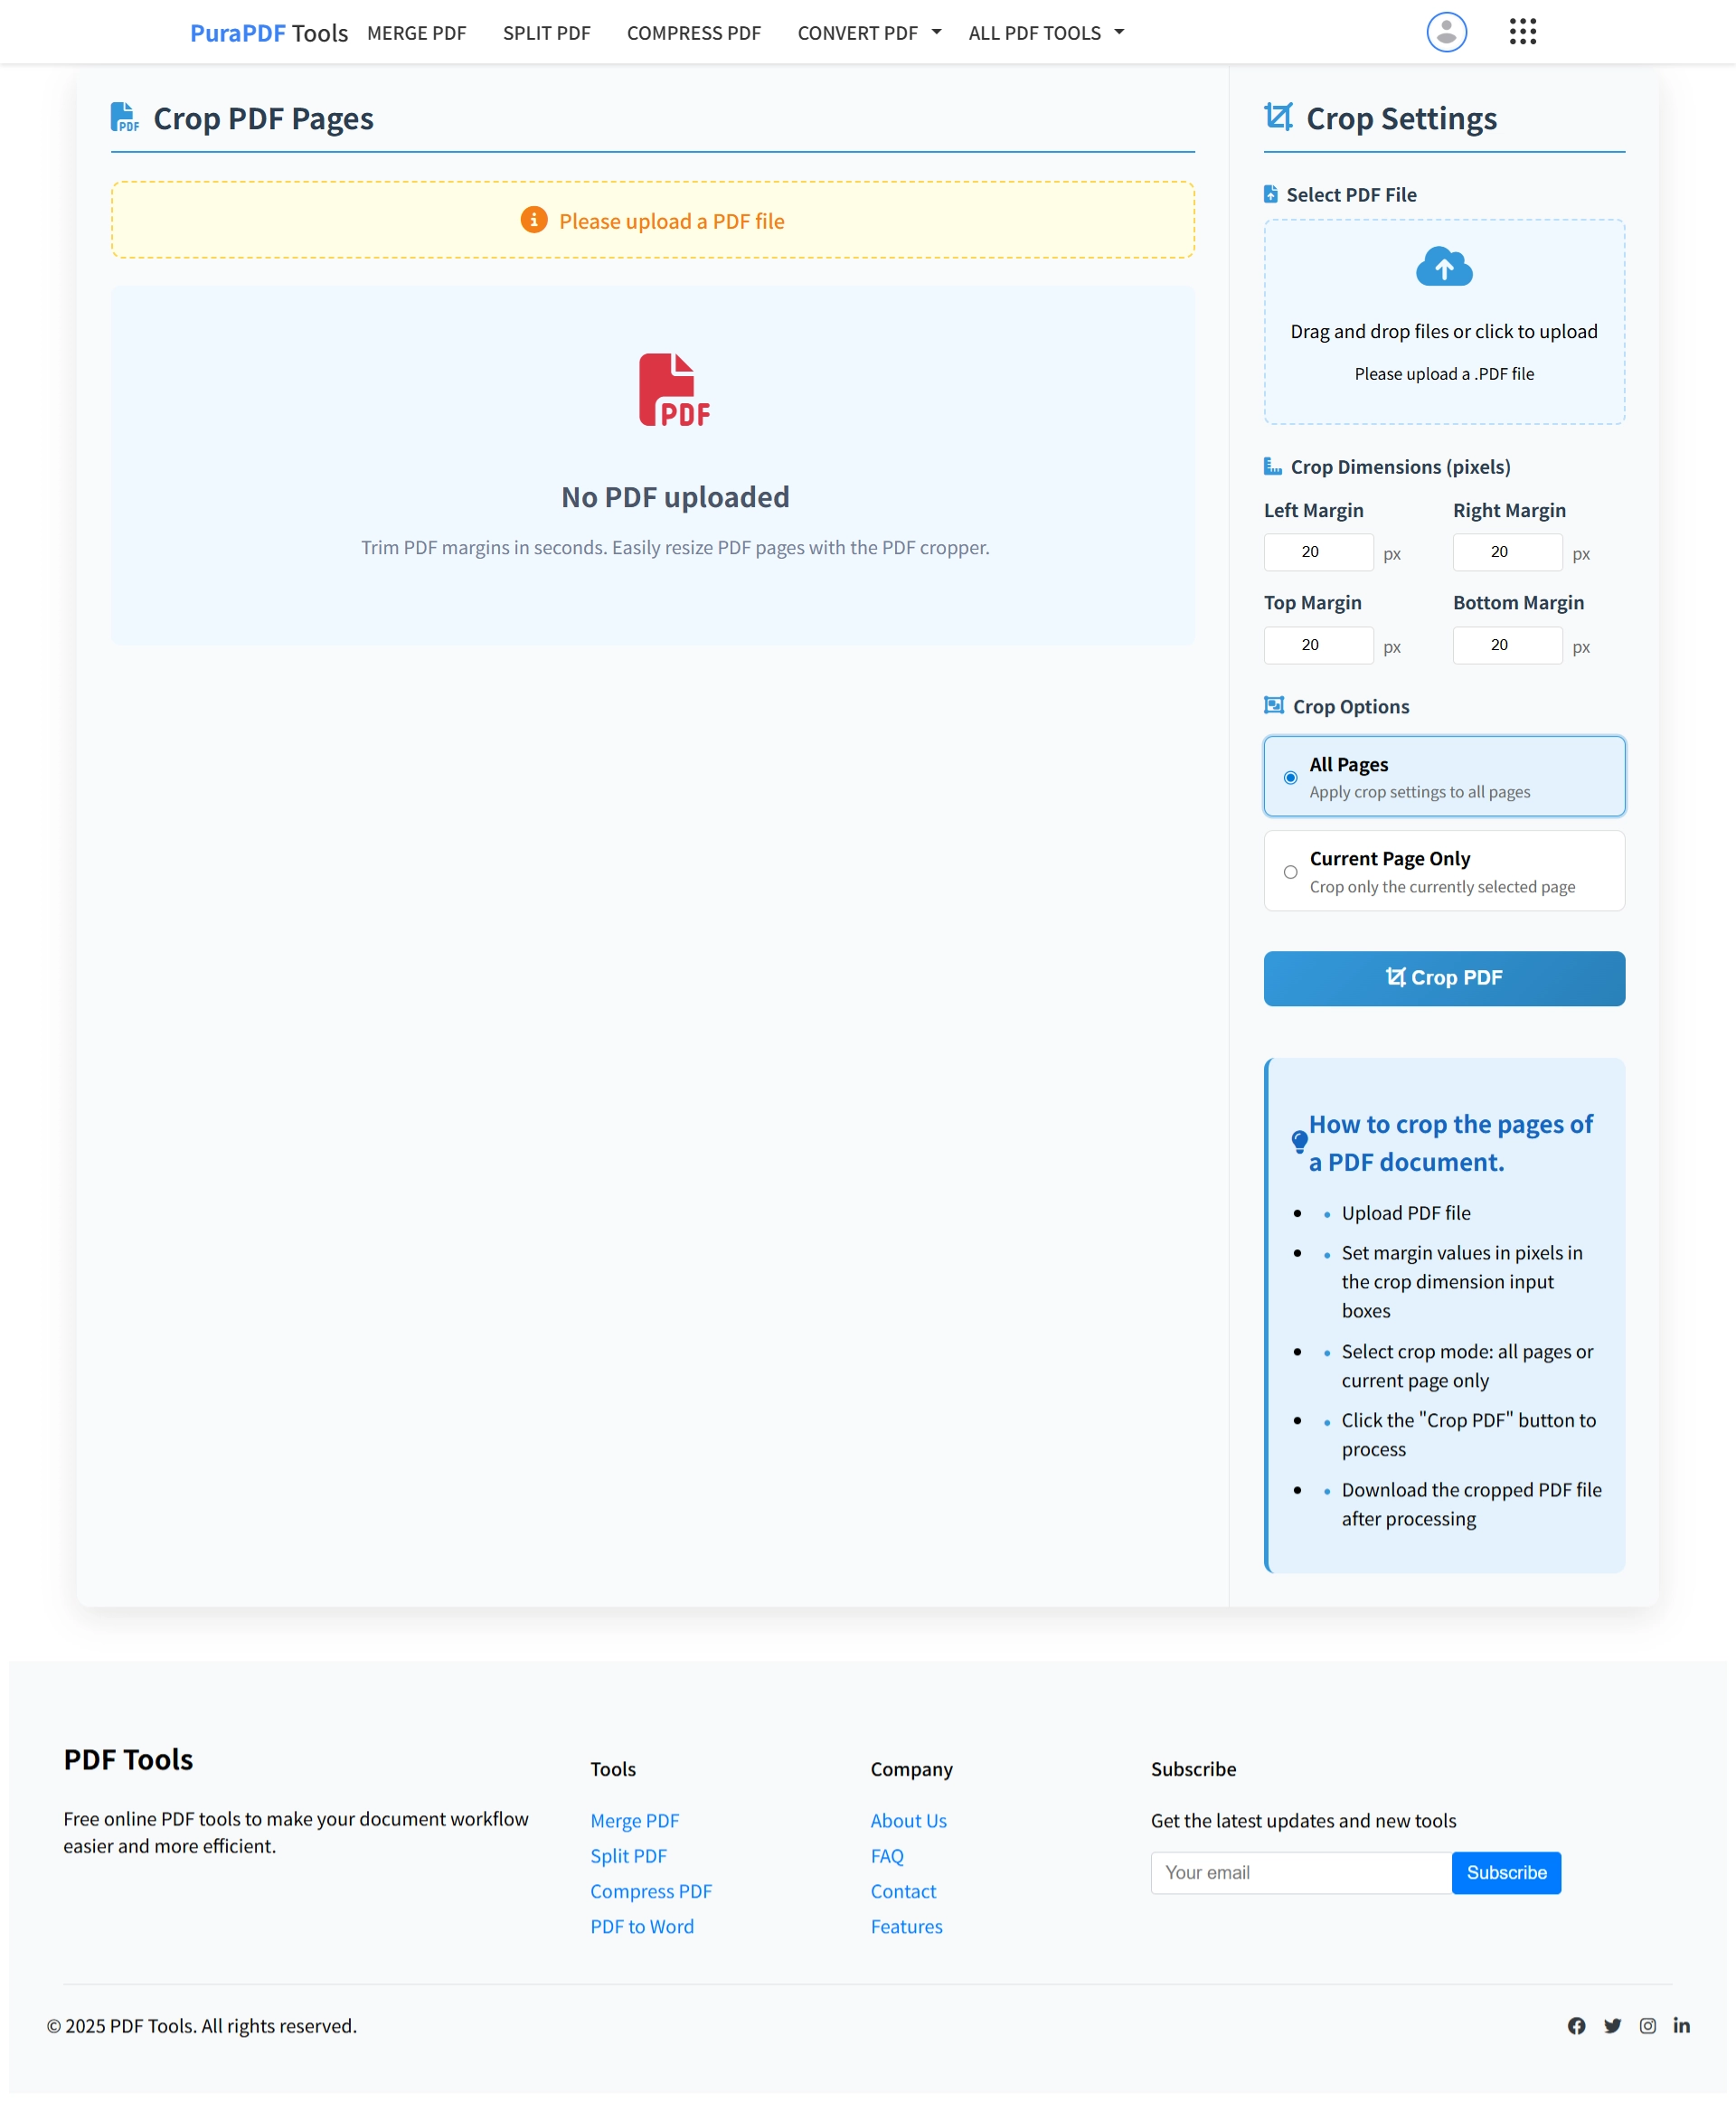
Go to the Crop PDF page. The layout is straightforward—you'll see the upload area in the center of the screen.
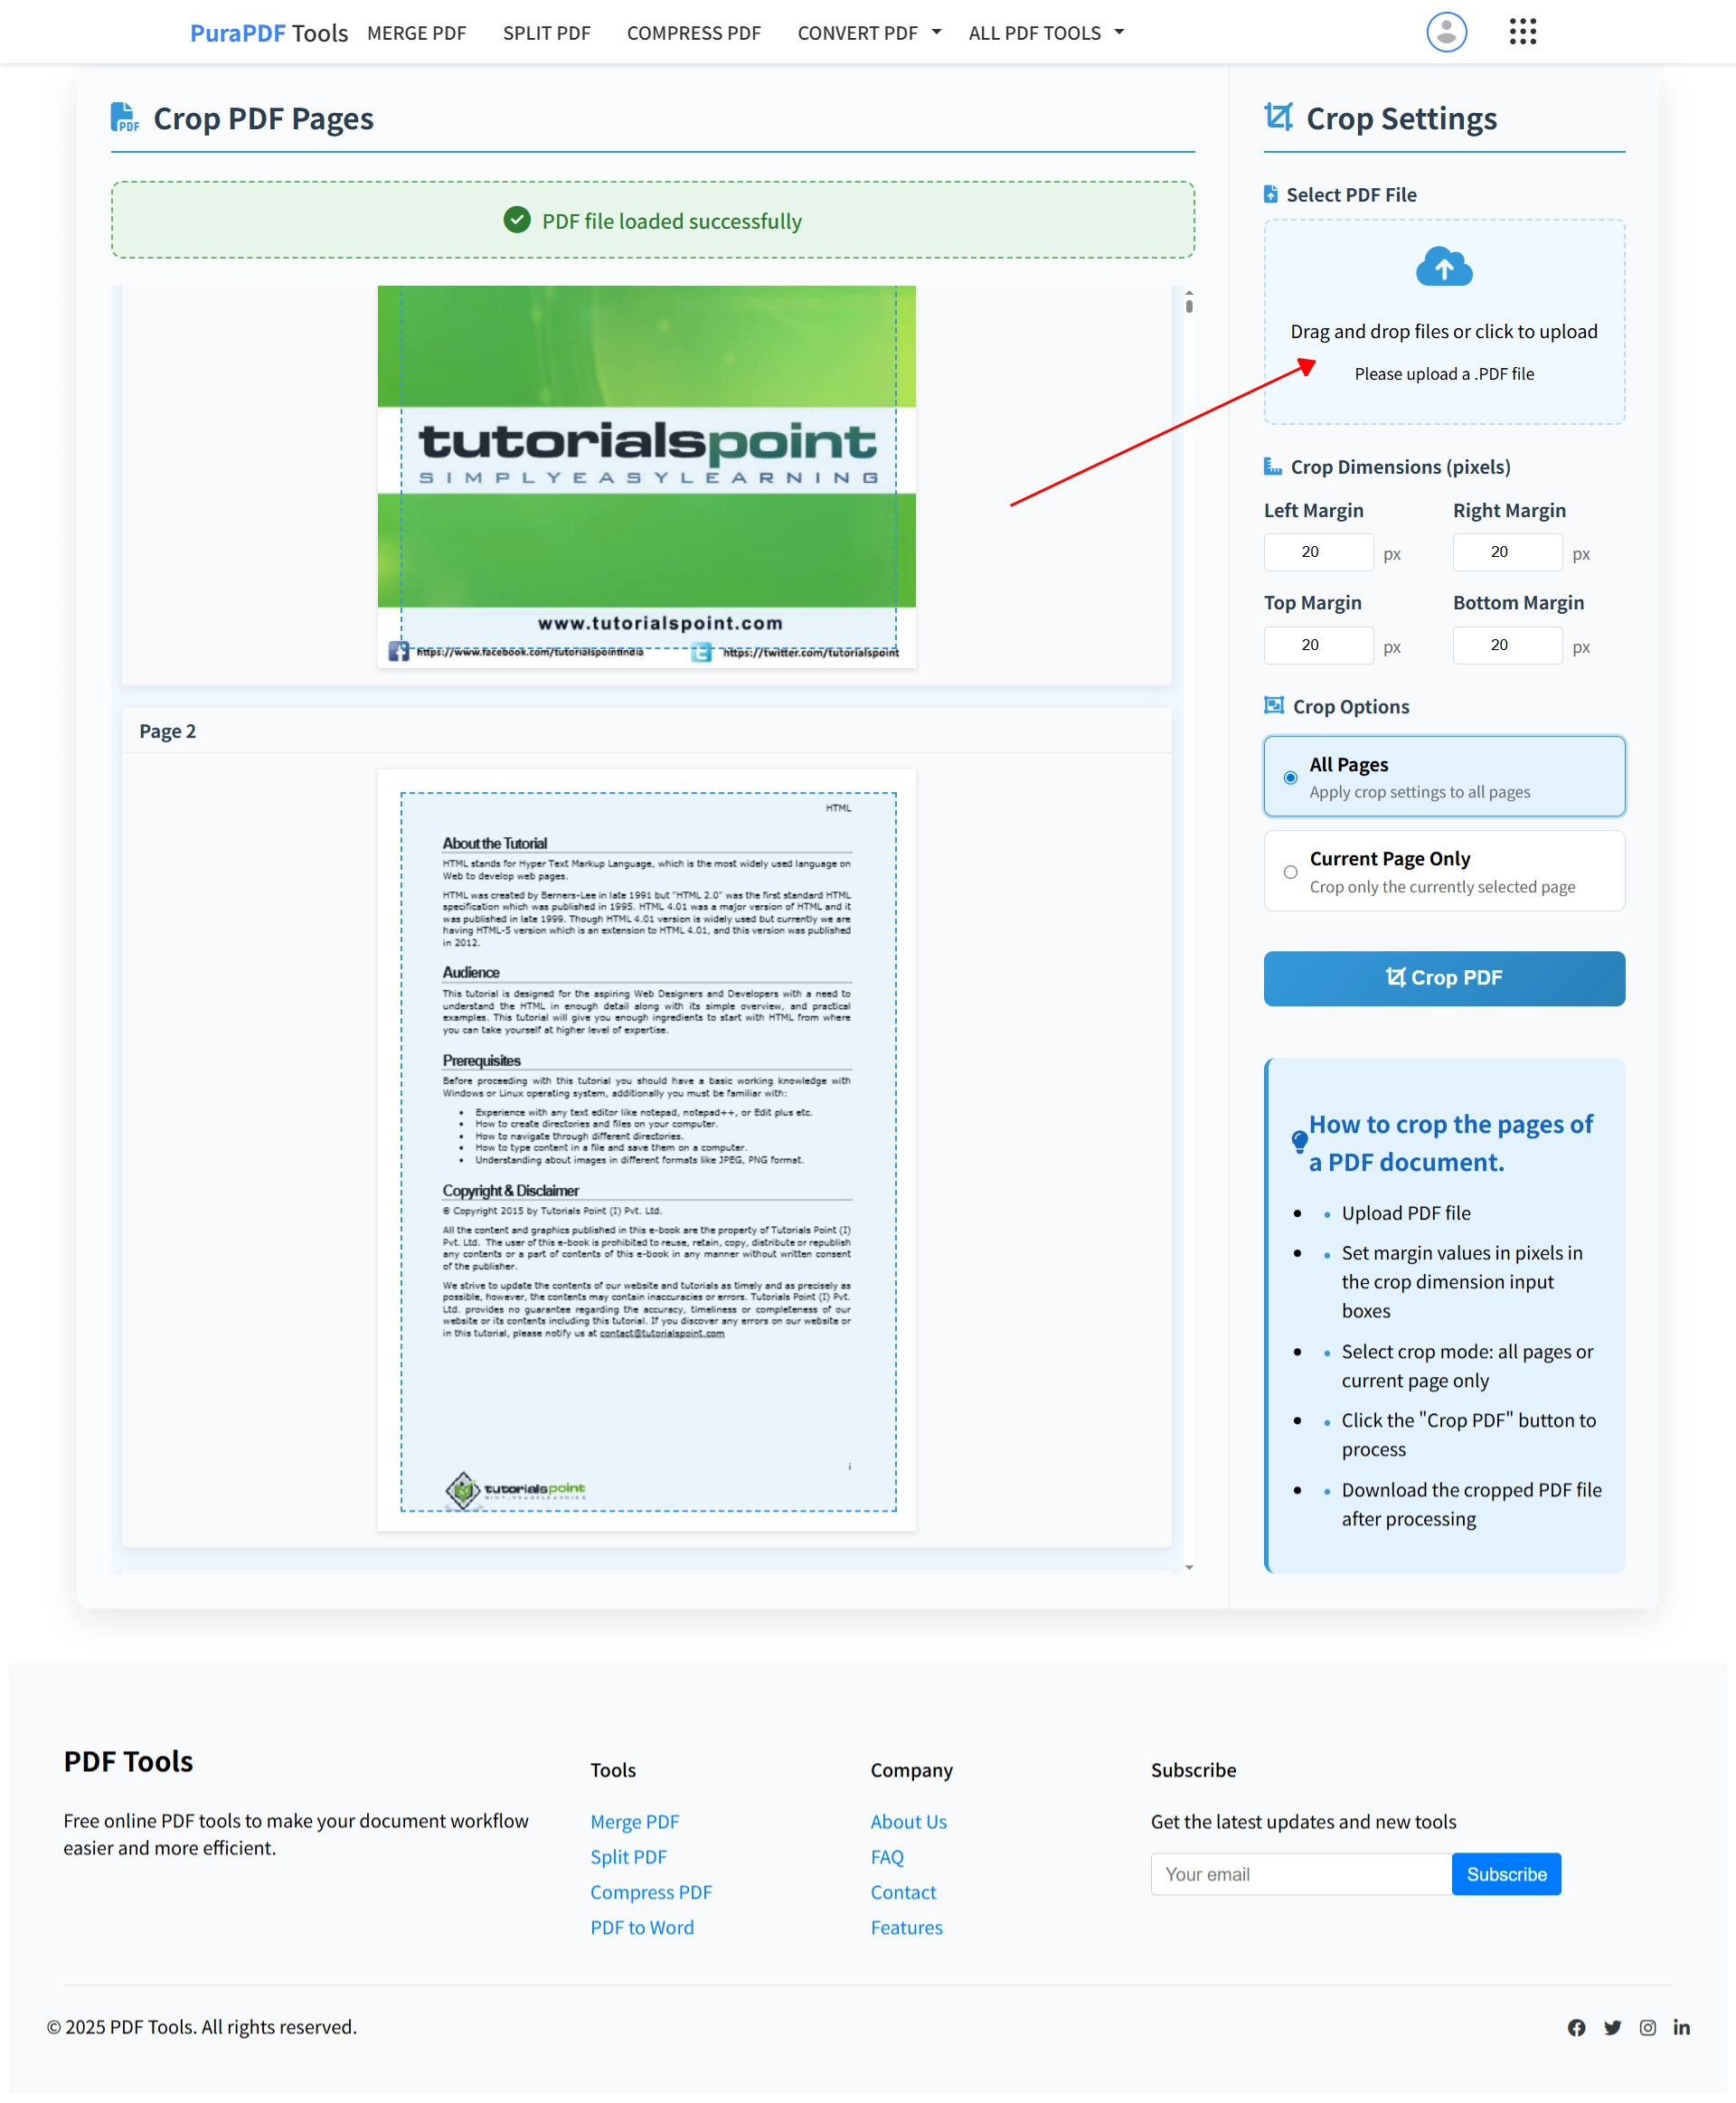
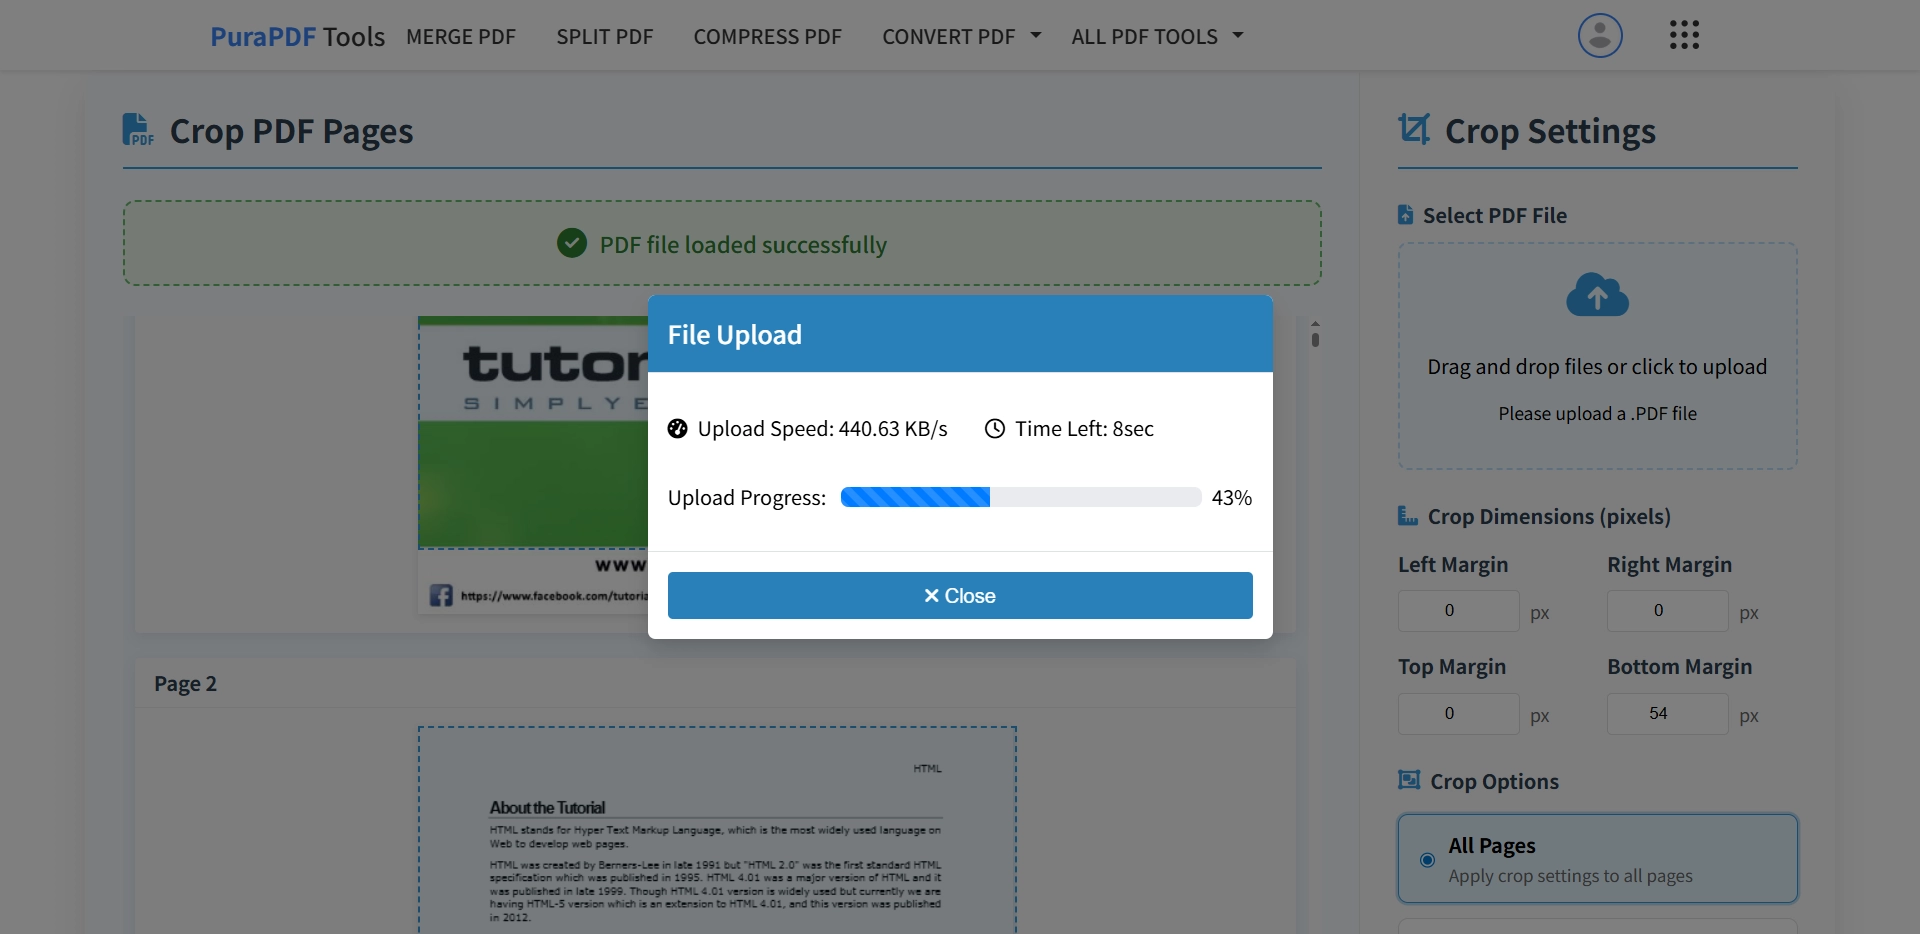
Step 2: Upload the File
Select the PDF from your device, or drag and drop it right onto the page.
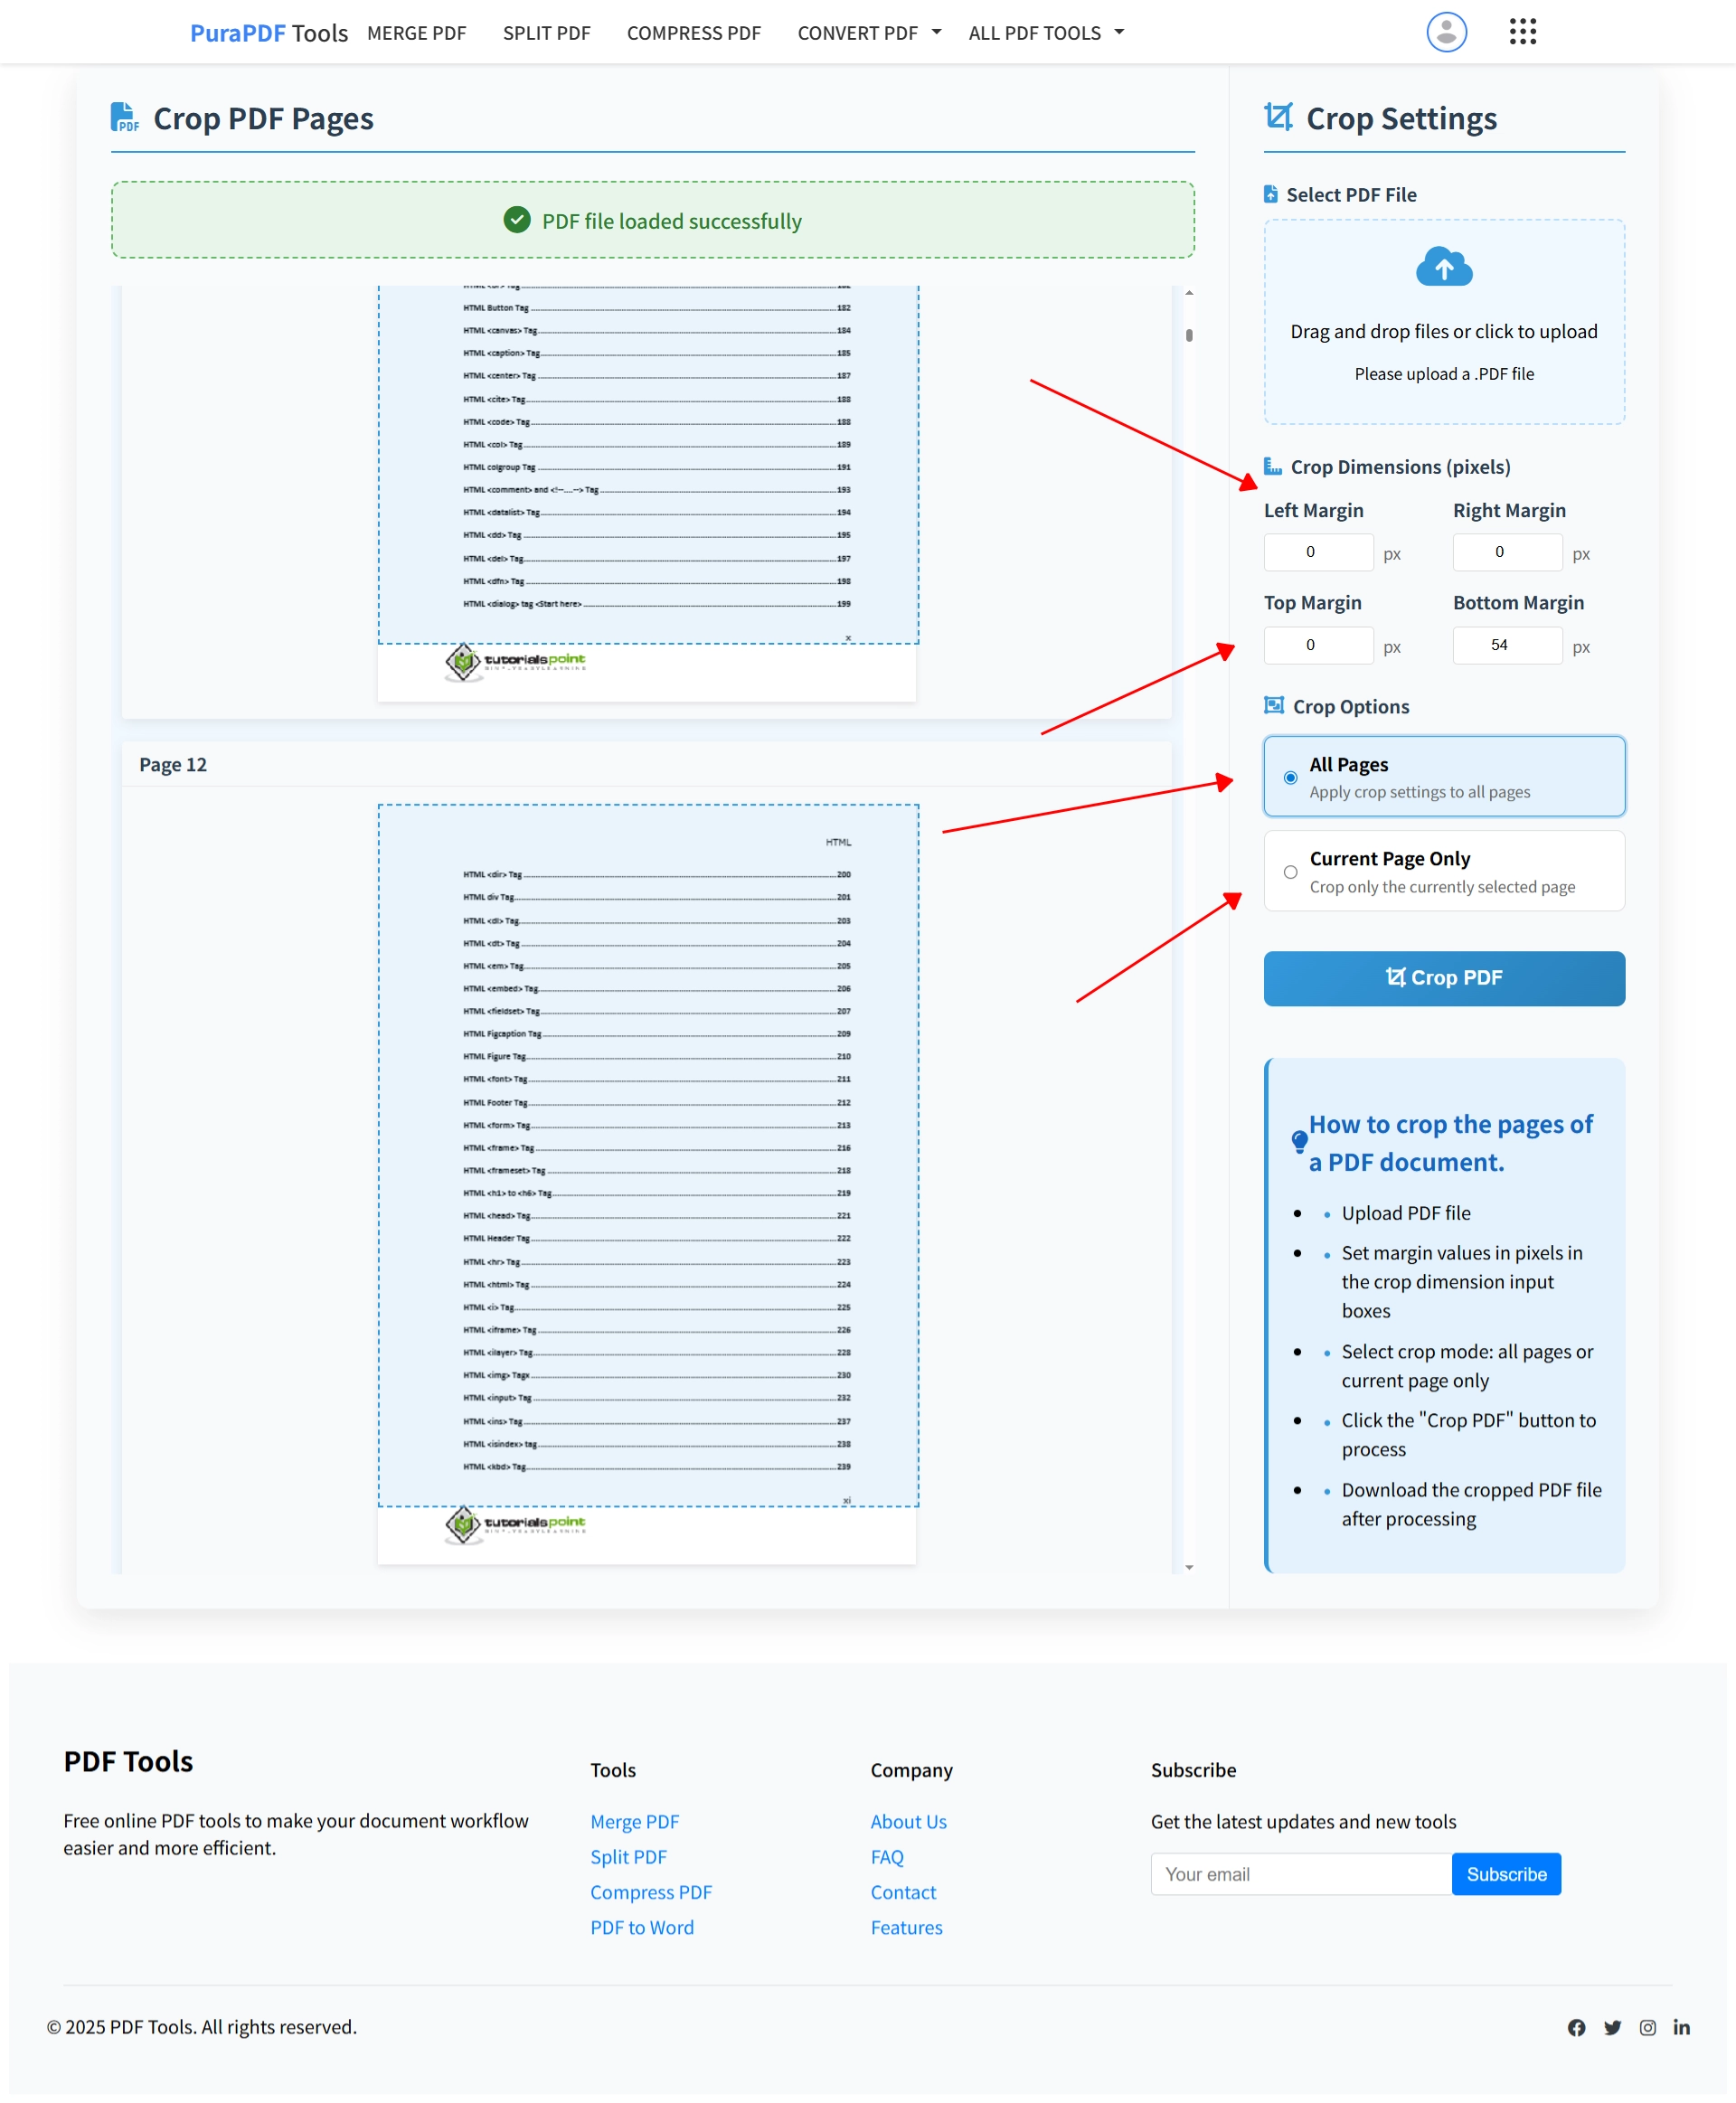
Step 3: Adjust the Boundaries
This is the key step. You'll see a preview of the first page.
- You'll spot a blue bounding box sitting over the page. Grab the edges or corners and pull them inward until the white border disappears.
- If you've got a stack of similar files and you know the exact dead space is, say, 20 pixels on every side, just punch those numbers into the Top, Bottom, Left, and Right boxes. Much faster than dragging for batch work.
- There's a selector at the top that lets you apply this cut to All Pages or just the Current Page.
Once you've got the blue box hugging the text just right, the hard part's over.
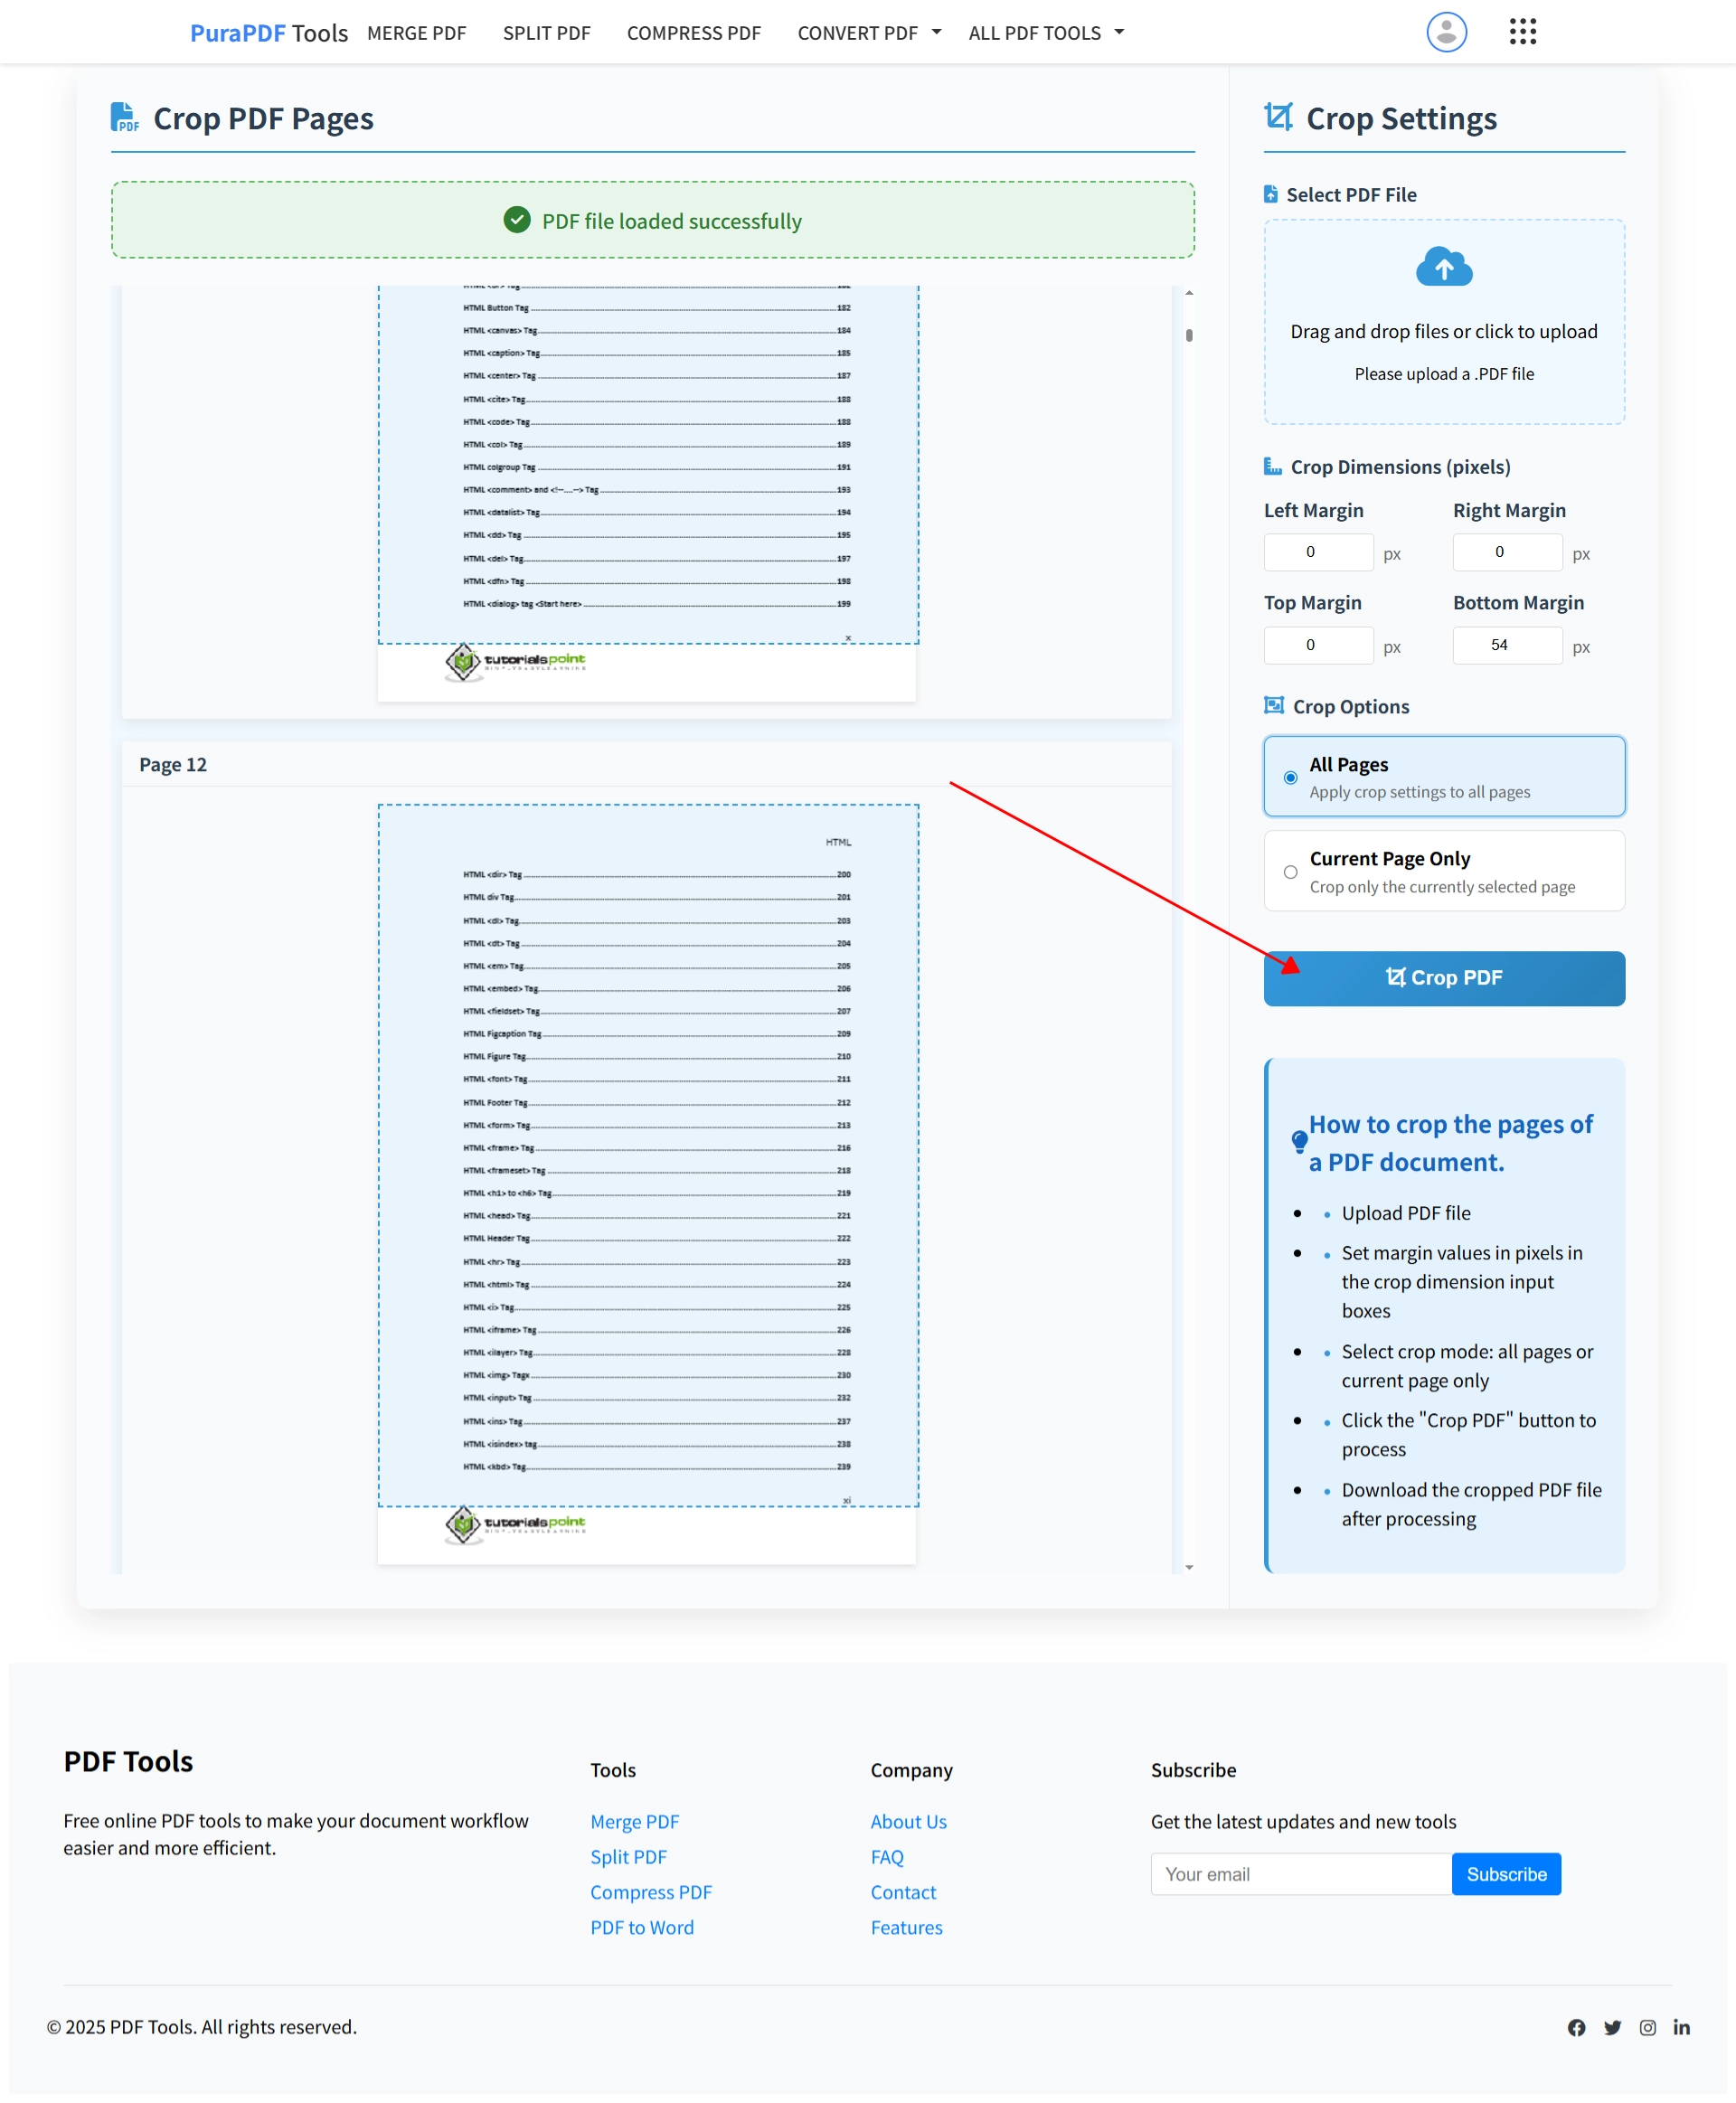
Step 4: Apply the Crop
Hit the Crop PDF button. The system processes the request. For files near the 50MB limit, this may take a few moments.
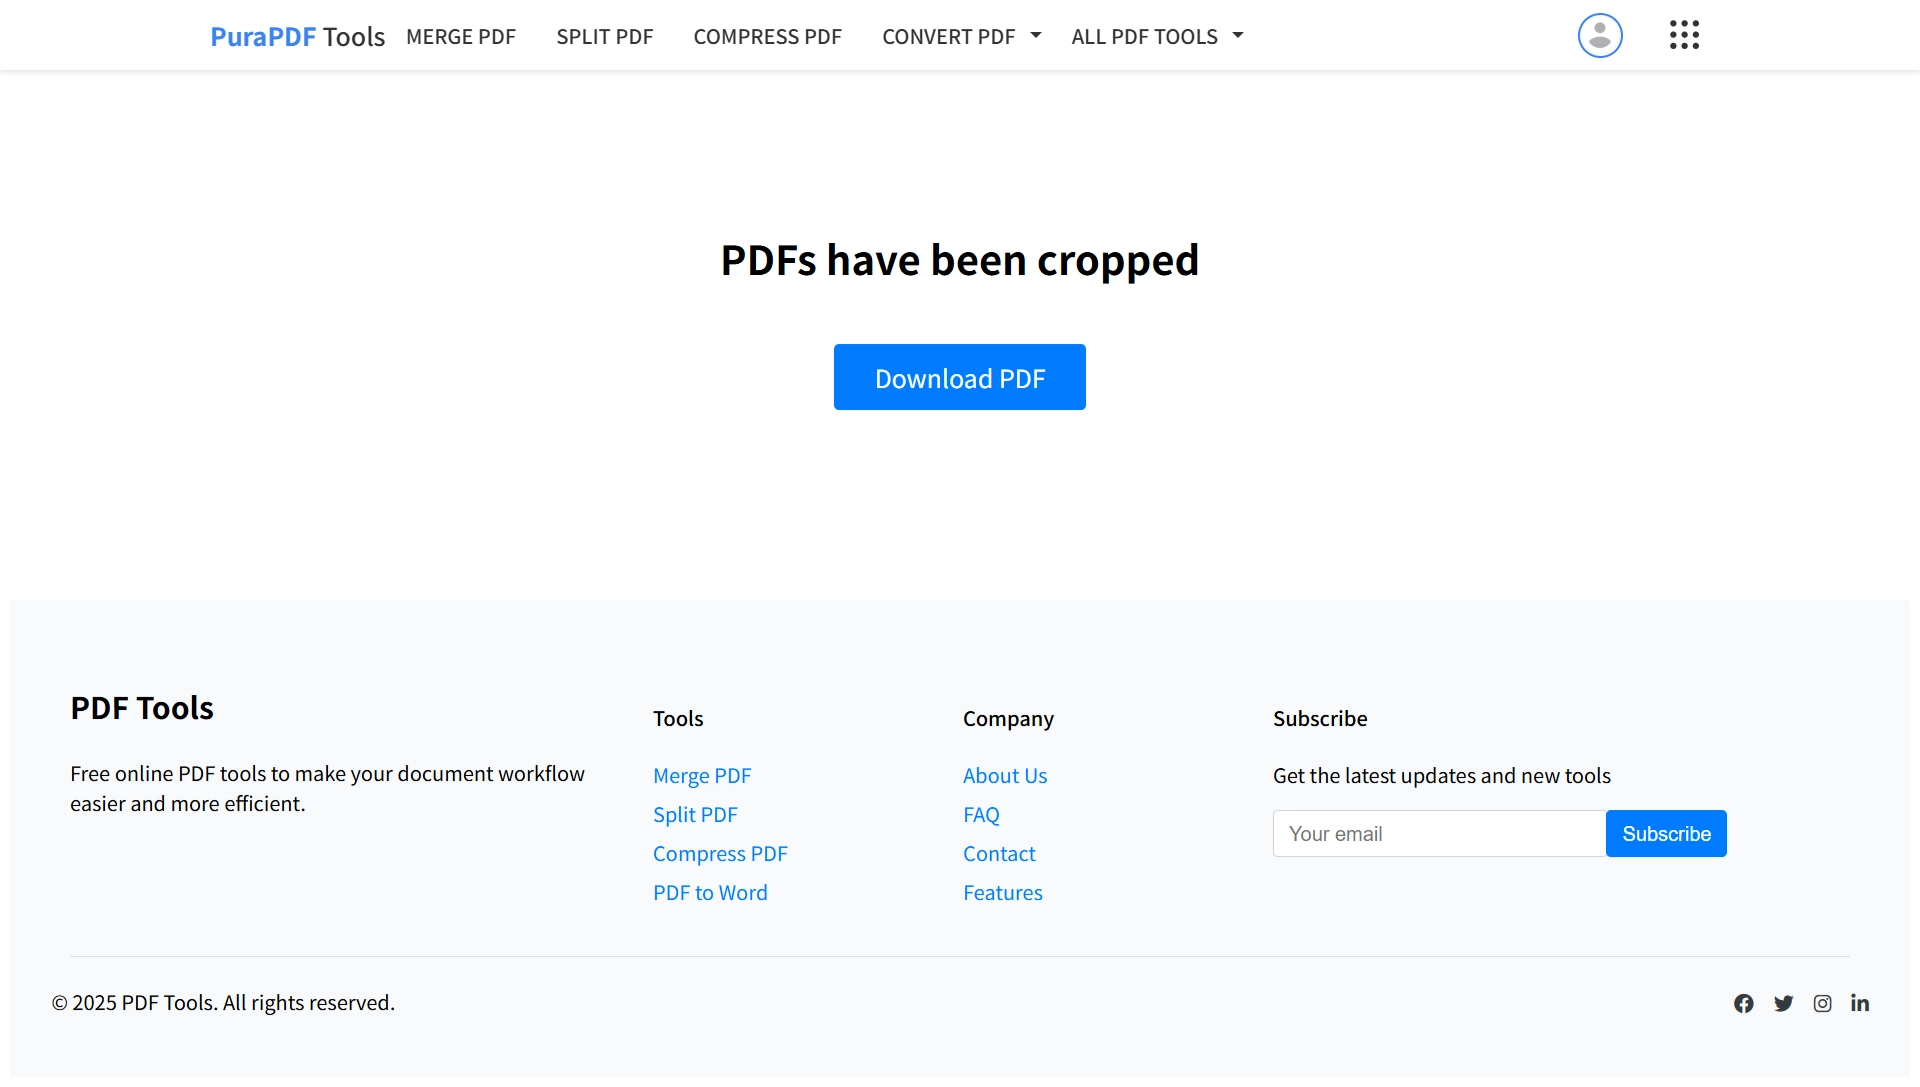
Step 5: Save the Result
Once complete, a download prompt will appear. Save the new PDF. Compare it side-by-side with the original—the margins will be gone, and the text will be easier to read.
A Note on Scanned Documents
If your PDF is a scan of a physical book or receipt, the cropping tool works exactly the same way. The software treats the page as an image canvas. However, if the scan is skewed, trimming the white space won't straighten the text. For best results with scans, ensure the original page was relatively straight on the scanner bed.
Video Overview
For a walkthrough of the drag‑and‑drop workflow, watch the short clip below.
Frequently Asked Questions
Q1: Do I need to create an account?
No. The crop feature is open to use immediately.
Q2: Will I lose any text quality?
No. The process removes the white border. It does not change the resolution of the text or images that remain.
Q3: What if the file is larger than 50MB?
You can use the Compress PDF tool first to reduce the file size, then return to crop it.
Q4: Why is the preview showing the wrong area?
If the document has varying page sizes, the preview shows the first page. It's often best to crop using numeric values applied to "All Pages" for uniform margins, or switch to "Current Page Only" to handle mixed sizes individually.
Q5: Does this work with PDF forms?
Yes. Cropping does not affect fillable form fields; they remain functional in their new positions.
More Tools for Document Prep
- Compress PDF: Reduce file size for email.
- Merge PDF: Combine multiple trimmed documents into one file.
- PDF to Word: Convert the cropped PDF for editing.